eLinehub Technician Software: Complete Guide
- James Whaling

- Apr 19
- 2 min read
Updated: Aug 24
Learn how to set up and use Technician Software for seamless remote diagnostics
eLinehub is a complete remote diagnostics solution — both a tool and a platform. As a tool, it lets you connect remotely to VCIs and vehicles for advanced diagnostics and programming. As a platform, it empowers Technicians to receive, manage, and complete service requests from Mechanics in real-time, with full communication and payment features built in.
This tutorial is your step-by-step guide to using eLinehub Technician, the version built for professionals offering remote diagnostic services.
Step 1: Download and install the software
Open your preferred browser and visit the official eLinehub website. Download the latest Technician installer.
Once it’s finished, double-click the file and follow the prompts to complete the installation.

Step 2: Create your account
When you open the software for the first time, you’ll go through a quick registration process.
Enter your email and click “Continue.”

After a few seconds, you’ll get a six-digit code by email. Enter it and submit.

Then, fill in your personal details.
Start by selecting your country — note, this can’t be changed later. Choose your state, the car brands you’re experienced with, and your certification types. Your email is used as your default username, but you can change it and upload a profile picture if you’d like.Finally, review and accept the user agreement, then click “Confirm” to complete your registration.

Step 3: Claim your welcome gift
Congratulations — your account is now active!
As a new user, you’ll automatically receive a 1-month Technician Team Version subscription and 10 free tickets. You’re now ready to explore all features without limits.
Step 4: Browse the Order Market
Go to the Order Market to view remote support requests from Mechanics in your region.
If you see one that fits your skills, click “Grab Order” to claim it.

Use the built-in Live Chat to discuss the issue, service pricing, and payment method with the Mechanic.
If they choose offline payment, ensure you have enough tickets before clicking “Confirm.” The order will then move to Ready status.
If they opt for online payment, the order changes to Ready only after the payment is complete.

Step 5: Connect remotely and start diagnostics
Once the order is marked Ready, select it, choose the VCI shared by the Mechanic, and click “Connect.”
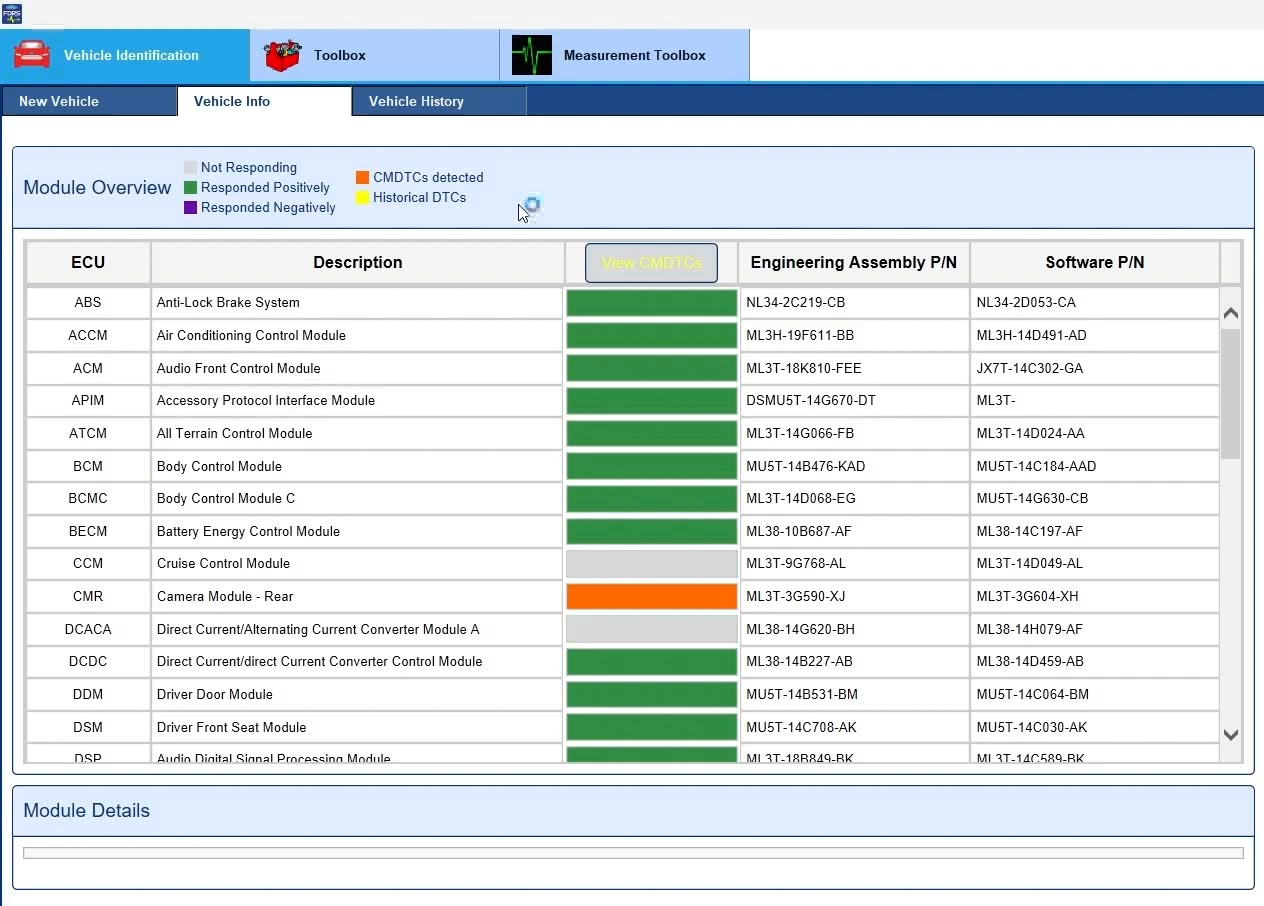
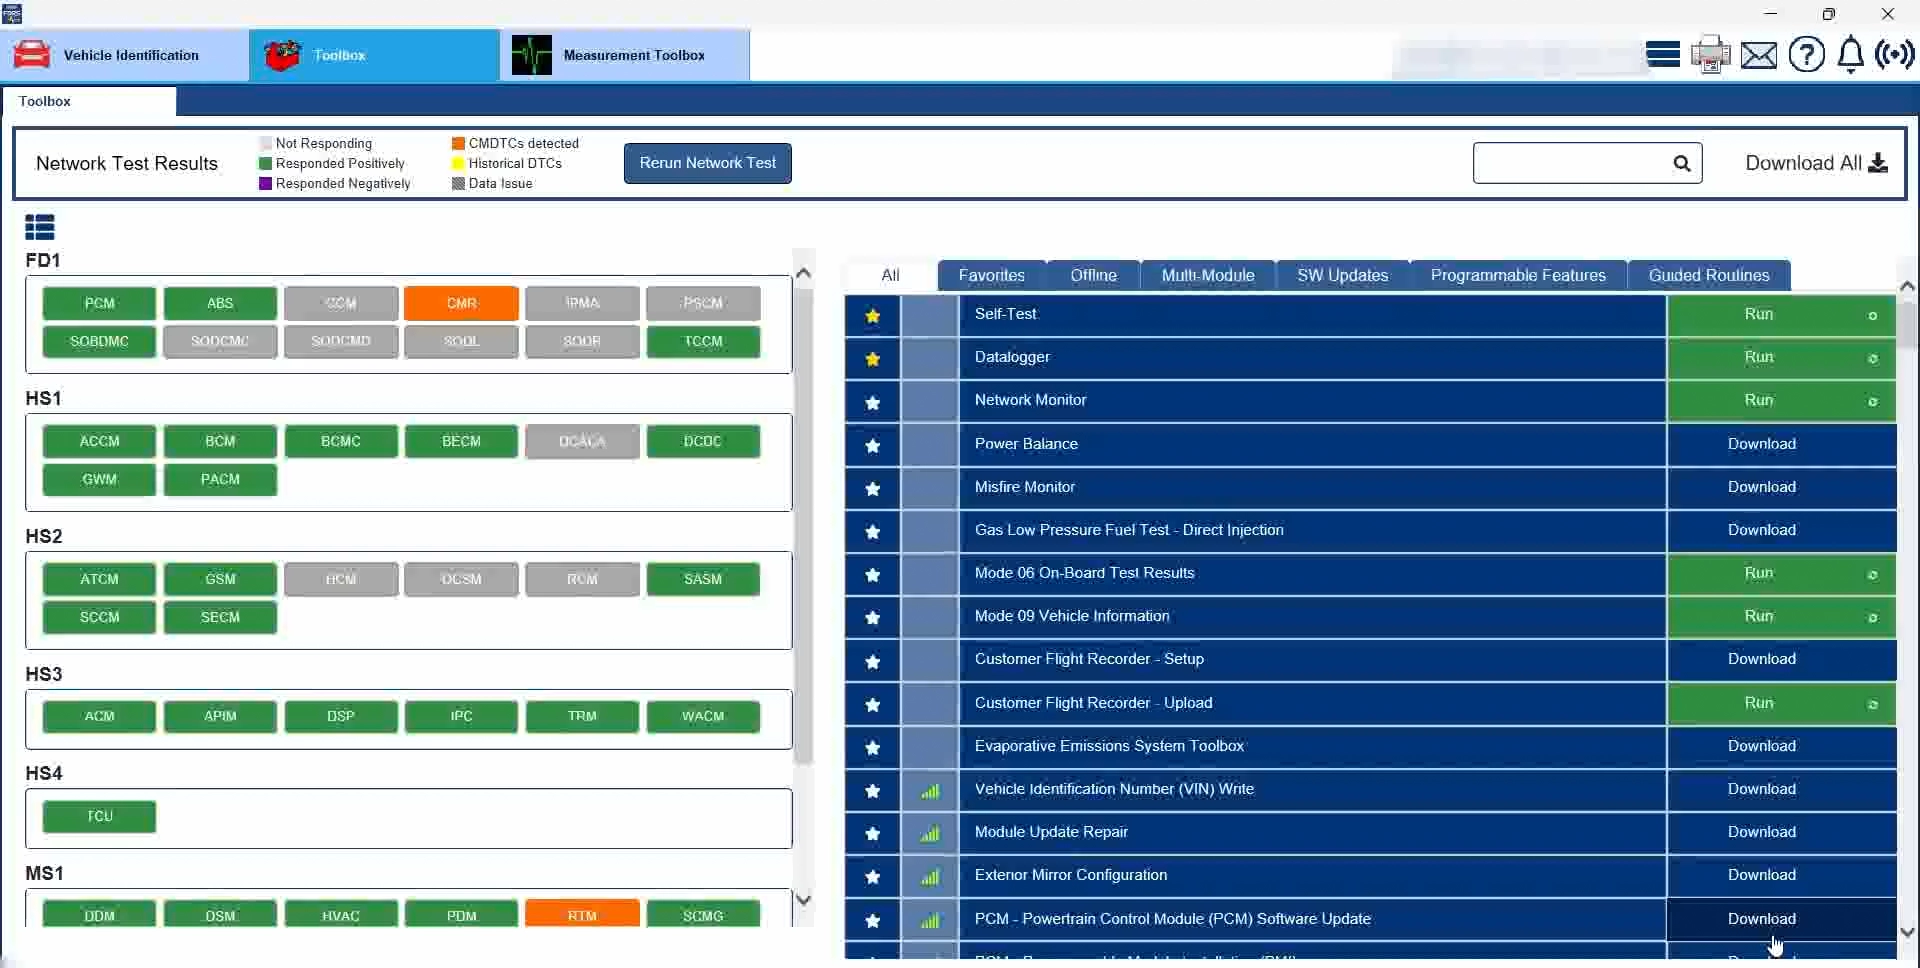
After the connection is stable, launch your diagnostic software and start working — just like you would on a car in your own garage.


Step 6: Finish the order
When the remote session is done, click “Complete Order.” The Mechanic will then review and confirm it. Once confirmed, the order is officially closed.
You can always check your order history for past details.


Comments